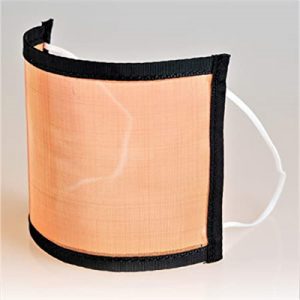
Copper mesh can be used to create a mask with antimicrobial properties due to copper’s natural ability to kill bacteria and viruses. However, it is essential to consider comfort, breathability, and safety when using copper mesh for making a mask. Here’s a simple guide to create a copper mesh mask:
Gather materials: You will need copper mesh, a soft fabric for lining (e.g., cotton), elastic or fabric straps, a sewing machine or needle and thread, scissors, and a measuring tape.
Measure and cut the copper mesh: Measure the size of the mask you want to create, considering the width and height needed to cover your nose, mouth, and chin comfortably. Cut the copper mesh according to the measurements.
Cut the fabric lining: Cut a piece of soft fabric with the same dimensions as the copper mesh. This lining will provide comfort and protect your skin from direct contact with the copper mesh.
Attach the lining to the copper mesh: Place the fabric lining on one side of the copper mesh, aligning the edges. Sew the lining to the mesh along the edges, leaving an opening on one side to insert a filter if desired.
Create the ear loops or straps: Cut two pieces of elastic or fabric straps to the desired length for securing the mask around your ears or head. The length will depend on your preference and comfort.
Attach the ear loops or straps: Fold the edges of the copper mesh and fabric lining over the ends of the elastic or fabric straps. Sew the folded edges to secure the straps in place.
Test the fit and comfort: Try on the mask to ensure it fits comfortably and securely. Adjust the straps or elastic as needed for a better fit.
Please note that while copper has antimicrobial properties, a copper mesh mask should not be considered a replacement for medical-grade masks or personal protective equipment (PPE). It is essential to follow local guidelines and recommendations for mask-wearing and other preventive measures to protect yourself and others from the spread of viruses and bacteria.